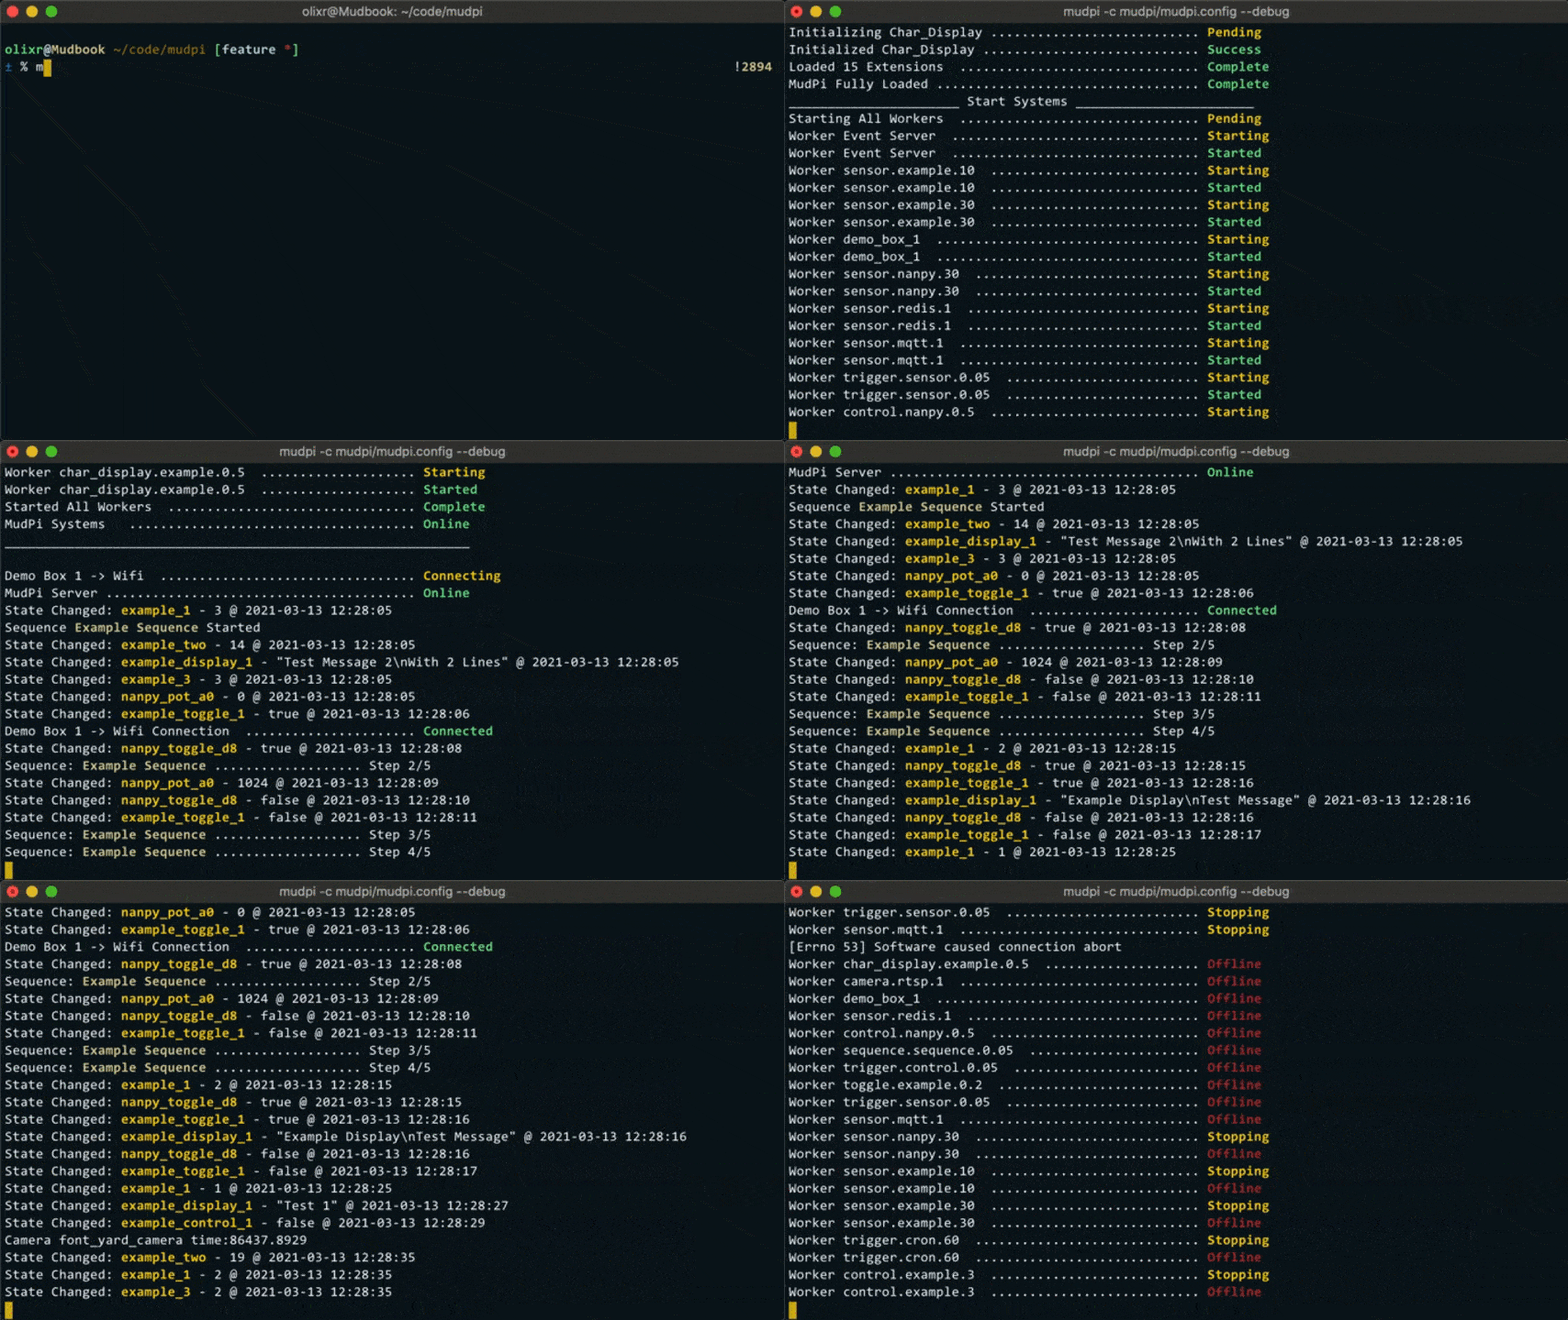
Getting Started With MudPi
To get started, install MudPi and edit your configuration file.
Using your terminal of choice enter the command mudpi to run MudPi.
Install MudPi
MudPi only takes a few minutes to get up and running. Install MudPi using the Installer that will guide you through the process. You can also view the manual install instructions.
The installer will handle all the preperations and requirements to get MudPi up and running. You can run the installer with the following command from your terminal:
curl -sL https://install.mudpi.app | bash
Create a Configuration File
MudPi loads everything it needs from a configuration file. By default MudPi looks in the root installation folder for a file mudpi.config. You can use any filename you like just use the --config flag when running MudPi to pass your config file in. Both JSON and YAML configuration formats are supported.
Below is an example of a basic JSON configuration file for a single example sensor.
{
    "mudpi": {
        "name": "MudPi Example",
        "debug": false
    },
    "sensor":[{
        "key": "example_sensor_1",
        "interface": "example"
    }]
}
Below are the same confurations using YAML:
mudpi:
  name: MudPi Example
  debug: false
sensor:
- key: example_sensor_1
  interface: example
There are multiple examples available under the examples folder in the MudPi core repo.
You can find more details about each of the configuration options available in the configuration section.
Run MudPi
You can then run MudPi by running the command mudpi from the terminal.
MudPi looks in the current directory for a config file. You can add the --config option when running MudPi to specify a config location. mudpi --config path/to/config

I suggest running MudPi in the background and keep it up with a process monitor like supervisord.
You can find all the run options for MudPi by running mudpi -h