Beginner
• ~15 min read
Weather Station
Build a DHT11 temperature and humidity weather station with MudPi.
Hardware Required
- Raspberry Pi (any model with GPIO)
- DHT11 temperature and humidity sensor
- 10KΩ pull-up resistor (some DHT11 modules include this)
- Jumper wires
- Breadboard (optional)
Wiring
Connect the DHT11 to your Raspberry Pi on GPIO pin 25:
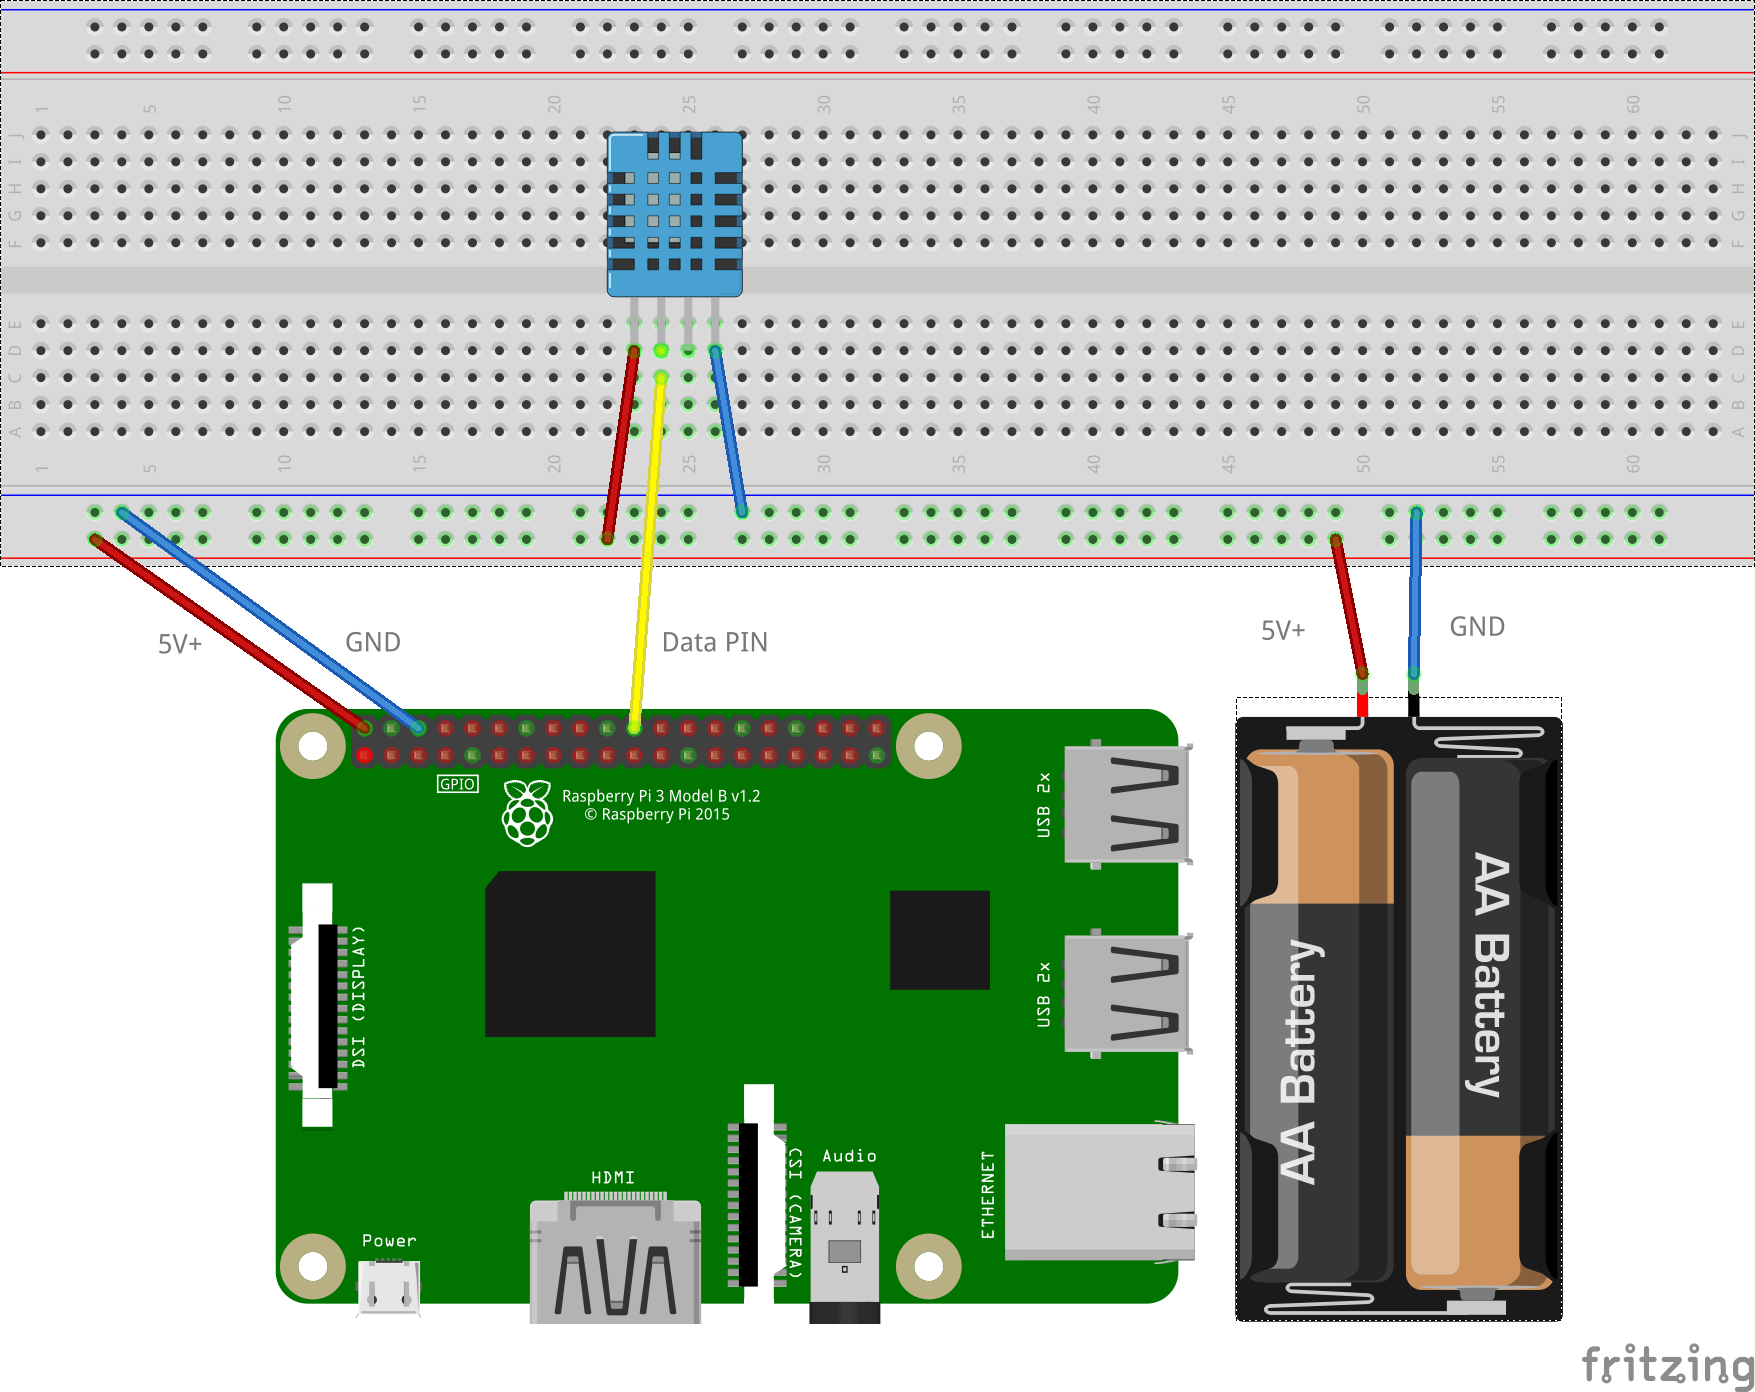
- VCC → 3.3V (Pin 1)
- Data → GPIO 25 (Pin 22)
- GND → Ground (Pin 6)
Note
If your DHT11 is a bare sensor (not on a breakout board), add a 10KΩ resistor between VCC and the Data pin.
Software Setup
Make sure MudPi is installed and running on your Raspberry Pi. Refer to the installation guide if you haven't set it up yet.
MudPi Configuration
Add a sensor entry to your MudPi configuration file to read from the DHT11:
mudpi.config.json
{
  "sensor": [
    {
      "key": "weather_station",
      "interface": "gpio",
      "type": "dht",
      "pin": "D25",
      "model": 11,
      "name": "Outdoor Weather Station"
    }
  ]
}
The key fields:
interface— Use"gpio"for direct Raspberry Pi connectionstype— Set to"dht"for DHT-series sensorspin— The GPIO pin in digital format ("D25"for GPIO 25)model— Set to11for DHT11 or22for DHT22
Results
Once MudPi starts, it will begin polling the DHT11 sensor and publishing temperature and humidity readings to Redis. You can view the data through the Solarbeam dashboard or query it directly:
Shell
redis-cli GET "mudpi:sensor:weather_station"Next Steps
- Add more sensors to build a complete weather monitoring station
- Set up triggers to alert you when temperature or humidity crosses a threshold
- Connect a character display to show live readings
- Upgrade to a DHT22 sensor for better accuracy and range